(BPT) - Ready to transform your kitchen and impress your guests this holiday season? Just in time for the family feasts and celebrations, you can give your kitchen a stunning refresh with a simple DIY project - with no mess, minimal effort, and a look that will wow everyone.
Creating a beautiful new kitchen tile backsplash that will make a big impact is easier than you think, if you've got the right products to help you make it happen. Here's how you can get started:
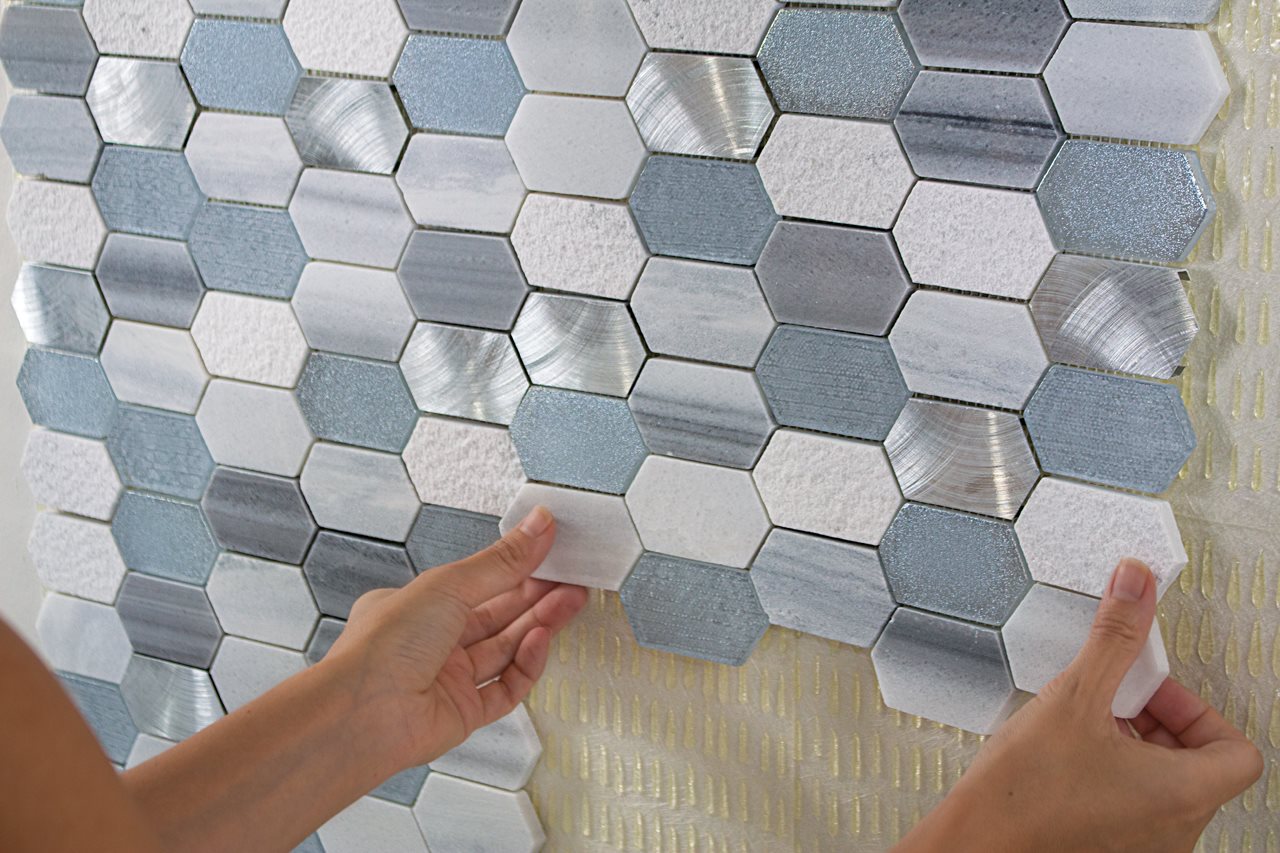
Choose your backsplash tile
With so many options to choose from, it may help you to make a few basic choices before you head to a retailer or showroom so you don't get overwhelmed. For example, you might want to decide on your overall budget and where exactly you want your backsplash to go (such as how far up the wall). Then try to narrow down things like tile size and type of material you prefer (such as ceramic or porcelain), or whether you want tile with a glossy or matte finish. Measure the entire area that you plan to tile (and measure twice, to check for accuracy) so you'll be able to figure out how much tile you'll need.
Then you can start thinking about how your backsplash will fit within your kitchen's existing decor and color scheme. Do you want the tile to blend in seamlessly, or to stand out as a striking focal point? If you already have a lot of color and pattern throughout your kitchen, a simpler color and design may be more restful to the eyes, like a neutral subway tile. However, if your kitchen counter, cabinets and other features are monochromatic (single color) without many design elements, tile options that introduce more color and/or a decorative pattern will really stand out and make a splash!
Pro tip: Ask for a few sample tiles to bring home before you make your final decision (the more of each type the better, especially if you need several tiles to complete a design). Look at the tiles in your kitchen at different times of day and night, and observe how they appear next to your cabinets, counters and appliances. How the tile complements your existing kitchen decor and lighting is much easier to see by bringing them into that environment - don't rely just on a photo on your phone when you're tile shopping.
Make setting simple

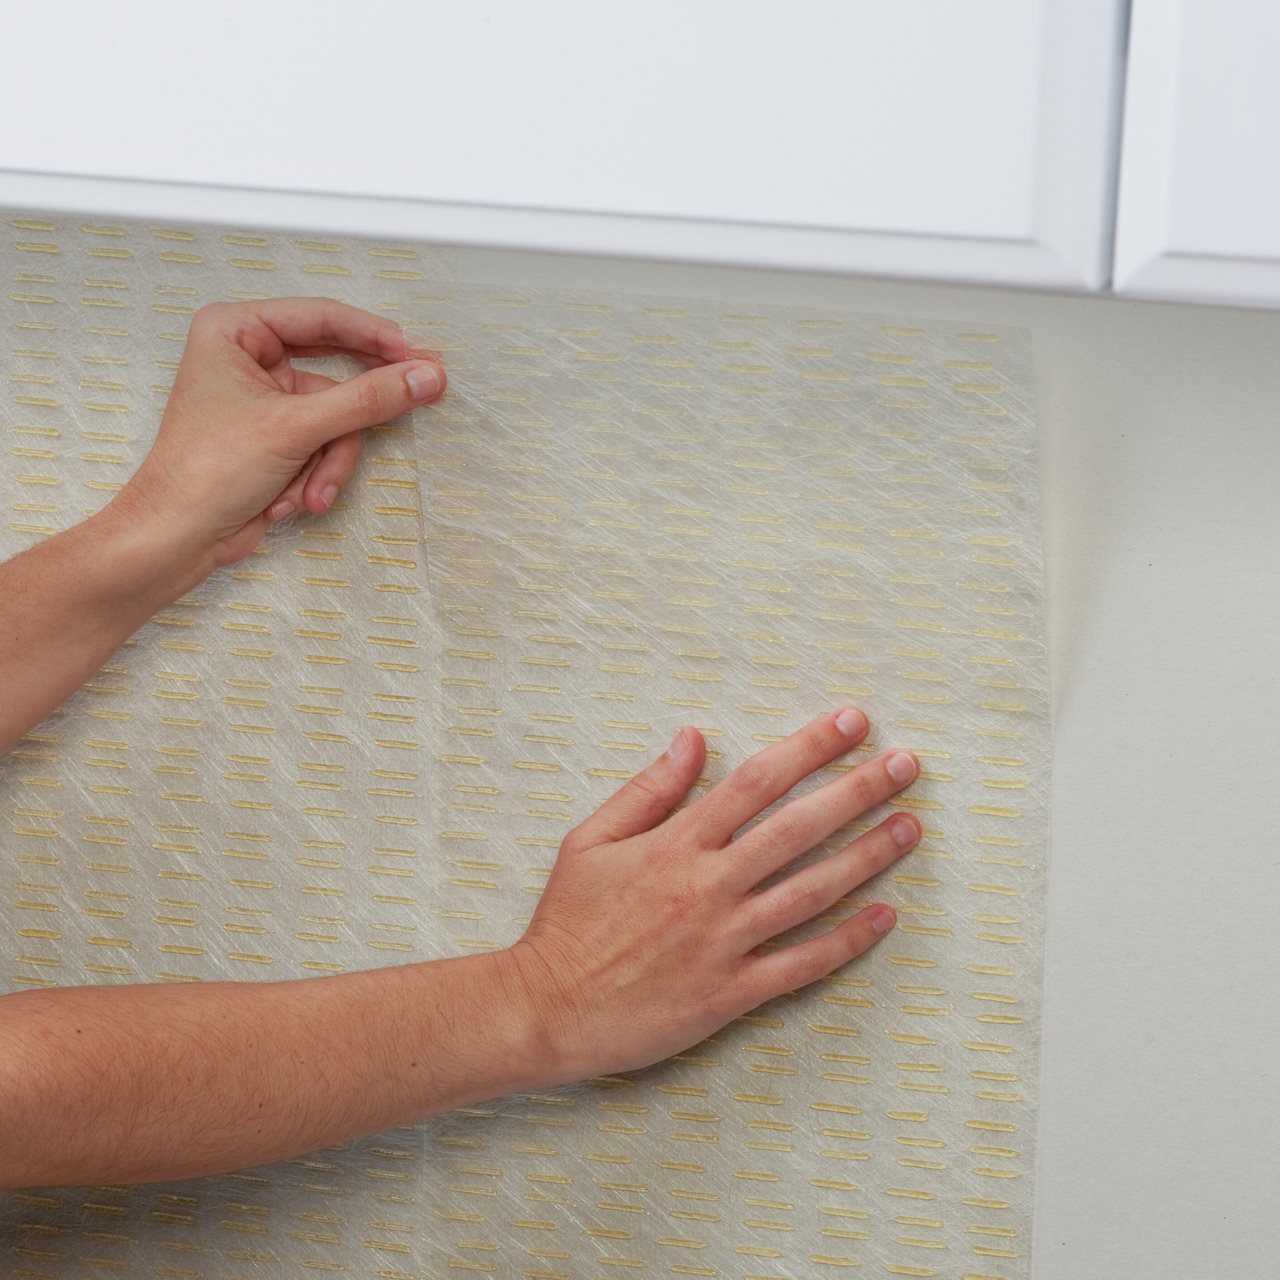
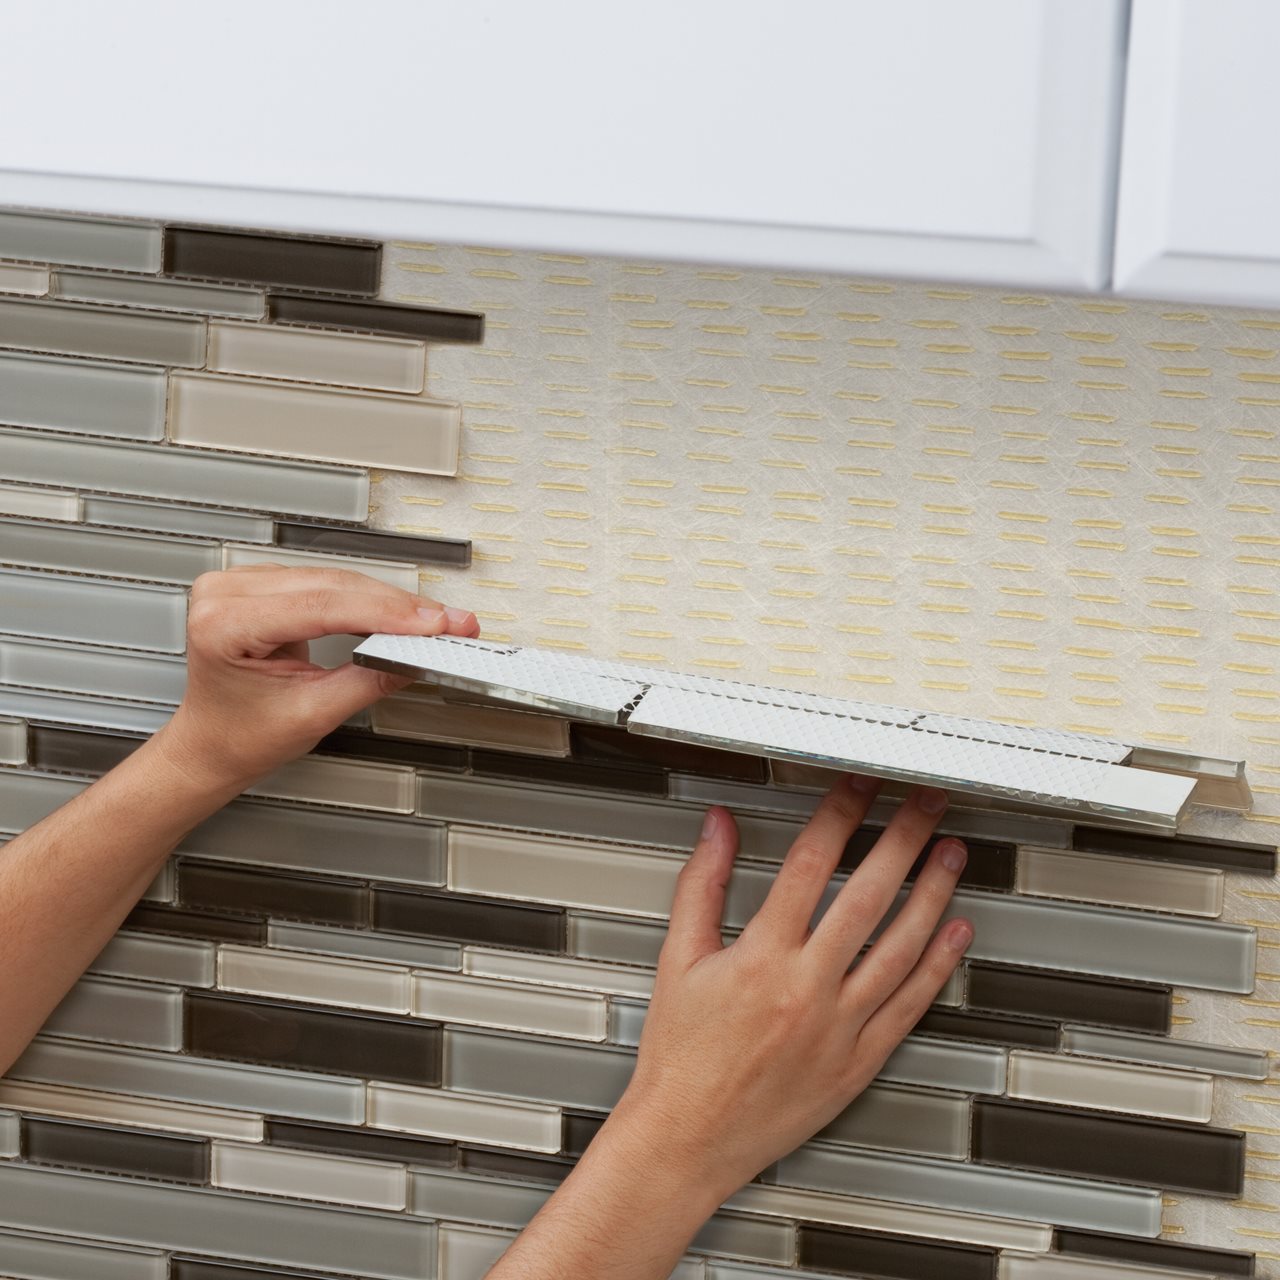
Once you're ready to set your tile, the job will be much easier with an easy-to-use peel-and-stick adhesive mat like SimpleMat® Tile Setting Mat, which eliminates the need for traditional thin-set mortar or mastic. And because it bonds instantly, there's no waiting necessary between setting your tile and grouting - so you can get the job done in a single day. The product is available in value-size rolls to make even larger projects easier. How easy is it? Watch this video to see how it's done: How to Install Tile Using a Tile Setting Mat.

If you're interested in tackling a larger project like your shower or tub surround, check out this video on How to Tile a Shower Wall Using SimpleMat®.

Grout with ease using pre-mixed grout
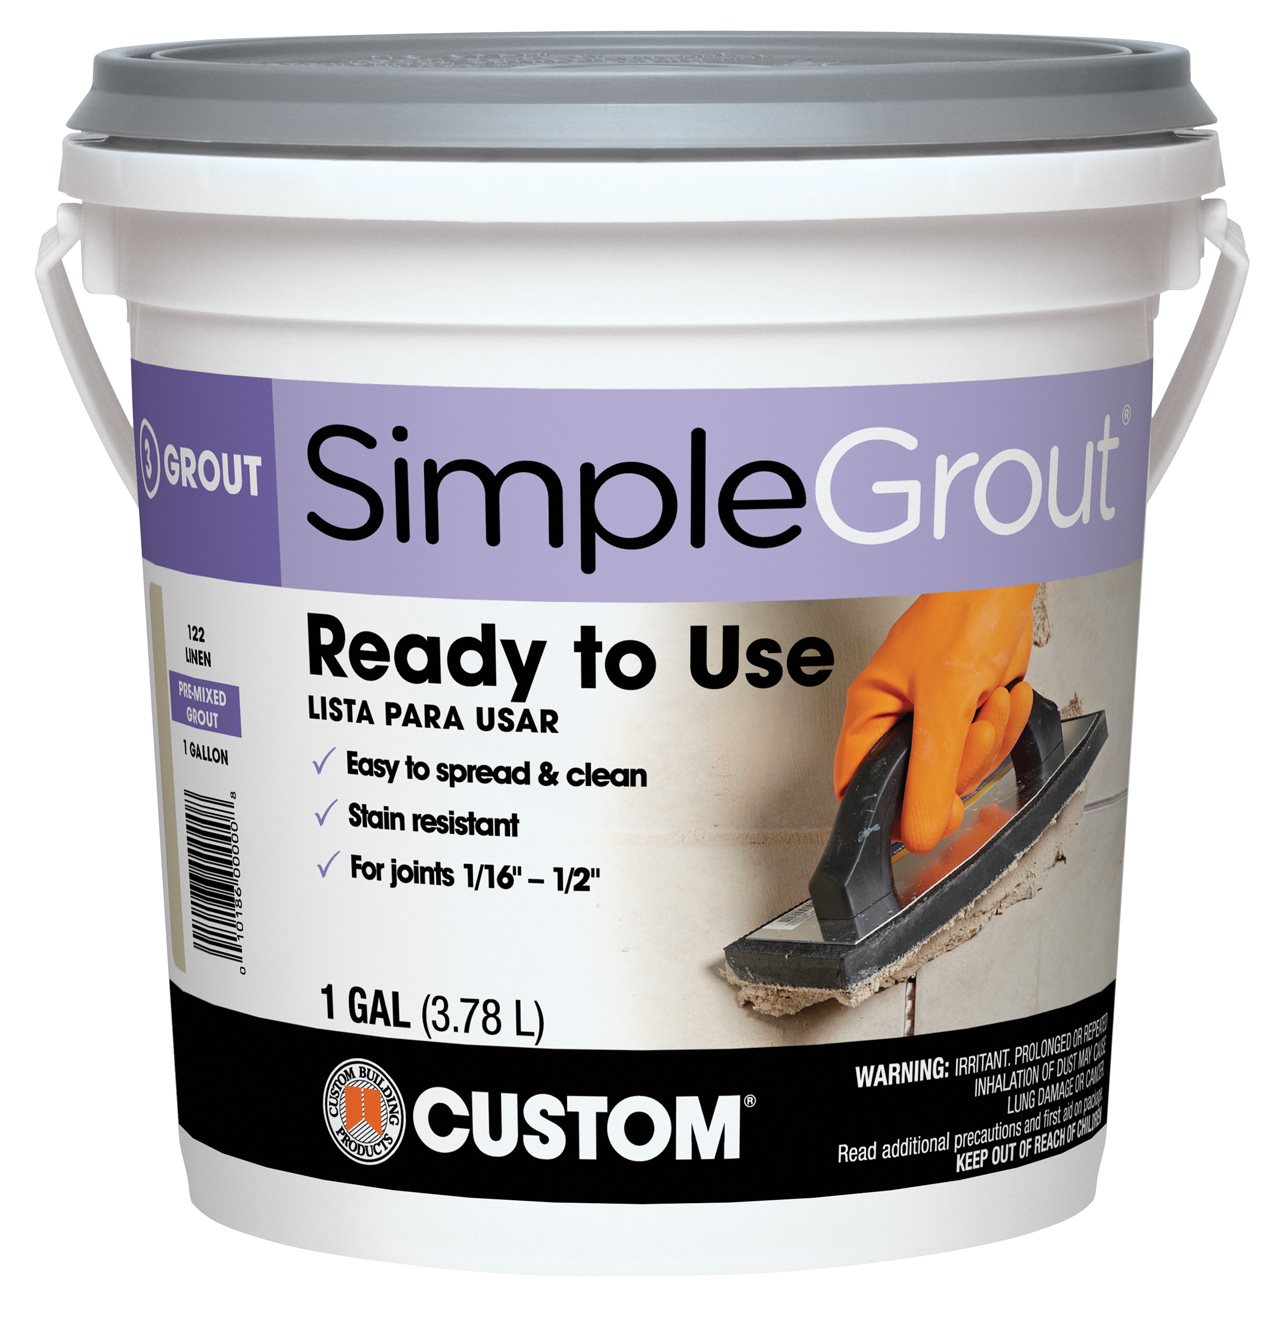
Once your tile is set, you're ready to grout. One great option is SimpleGrout® Pre-mixed Grout, which is a ready-to-use, no-mix, no-mess, no-hassle alternative to traditional grout that's easy to spread and clean. It's also sanded, and shrink-, crack- and household stain-resistant. Just follow these instructions to complete your project.

To help you visualize your new kitchen project and choose the best color grout to complement or contrast with your chosen tile, try out the handy new Tile & Grout Visualizer App. This can help you choose from 40 designer-inspired grout colors for the best one to go with your tile, so you'll feel confident that your tile installation will look exactly how you want it - before you start!

Both SimpleMat® Tile Setting Mat and SimpleGrout® Pre-mixed Grout are available now at The Home Depot near you. For more information about these and other products to help you make your next DIY project happen, visit CustomBuildingProducts.com.


